
- GIMP Editor 2
- Image (One that you want to edit)
- Basic knowledge of GIMP
- NOTE: If you are a beginner it will take you around 15 - 20 minutes. Once you get the hand of the steps it will take you about 10 minutes to complete.


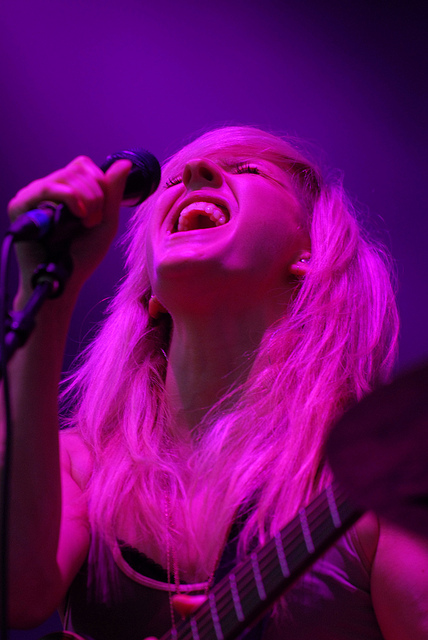
Step 1: This is a really easy tutorial and there are many ways to get this effect on your graphics. So, get open GIMP and open the image you are going to use. (I will be using this image of Ellie Goulding found here. If you don't know how to open an image, you can see one here.)
Step 2: Make the picture black and white. (Go to colors > colorize > make hue 180, saturation 0, lightness 0 > click ok. It should look like this.)
Step 3: Duplicate the layer. (Click the button surrounded by blue.) You may want to do this another time since we will be working with two different colours. (It should look like this.)
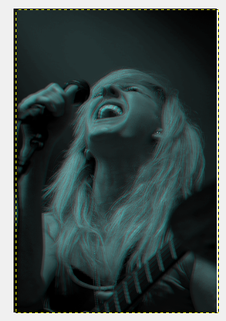
Step 4: Now make the picture blue. (Go to colors > colorize > make hue 180, saturation 50, lightness 0 > click ok)
Step 5: Now change the mode layer. (Go to mode: normal, change that to lighten only > pick the move tool > move the blue layer to the right/left. NOTE: Make sure it'll be the opposite of the red layer later.)
NOTE: Make sure the blue will be the opposite of the red layer that you will add following. Now, It should look something like this. If you find it too dark or too light you can adjust the colour once all the steps are done. I personally like how it looks like now.
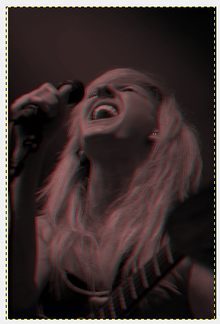
Step 6: With the other duplicated layer, make it red. (Colors > Colorize > make hue 360 or 0, saturation 50, lightness 0 > click ok.)
Step 7: Do the same steps you did on step 5. Remember to make sure it is going the opposite side of the blue layer.
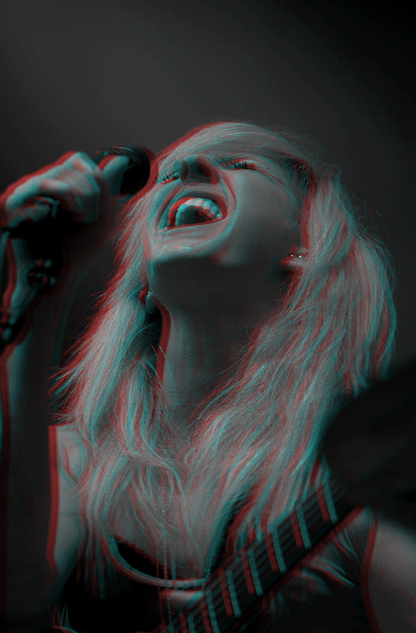
Step 8: Now flatten the image. (Click on any layer > merge down.)
Step 9 (Optional): You will notice there's a little undesired border on the left and right of the image, so you can just crop that out. (Click here to watch a video on how to crop an in GIMP.) You can also edit it anyway you want. (Making your image brighter or darker.)
Step 10: Save and show your friends!
Step 7: Do the same steps you did on step 5. Remember to make sure it is going the opposite side of the blue layer.
Step 8: Now flatten the image. (Click on any layer > merge down.)
Step 9 (Optional): You will notice there's a little undesired border on the left and right of the image, so you can just crop that out. (Click here to watch a video on how to crop an in GIMP.) You can also edit it anyway you want. (Making your image brighter or darker.)
Step 10: Save and show your friends!


|
|
